Password protection is a crucial aspect of keeping sensitive information secure on your computer.
In macOS, there are various methods to password protect files and folders to prevent unauthorized access.
By using built-in tools and third-party applications, users can easily add an extra layer of security to their confidential data.
In this guide, we will explore different ways to password protect files and folders in macOS.
The easiest way how to password protect files and folders in macOS is by using Disk Utility. This is a built-in application on Mac that allows you to create a password-protected disk image to store your sensitive files and folders. To use this feature, open Disk Utility, select "File" and then "New Image" to create a new disk image. Choose the size and format, select "AES-256" encryption and set a password.
You can also use alternative methods such as Encrypto, which allows you to drag and drop files into a password-protected vault. Another option is to use FileVault, which encrypts your entire startup disk. For more advanced users, the Terminal can be used with compression to password protect files and folders.
If you don't know how to use the above tools, then continue reading for a step-by-step explanation on each of them.
How to Password Protect Files and Folders in macOS
Use Disk Utility to Password Protect Folders on Mac
Disk Utility is a built-in utility in macOS that allows users to manage and maintain their hard drives and external storage devices. With Disk Utility, you can format, partition, repair, and erase disks, as well as create disk images and backups.
One of the features that Disk Utility offers is the ability to password protect files and folders by creating an encrypted disk image. This is a virtual drive that behaves like a regular disk, but all the data stored on it is encrypted and protected by a password.
To create an encrypted disk image using Disk Utility, follow these steps:
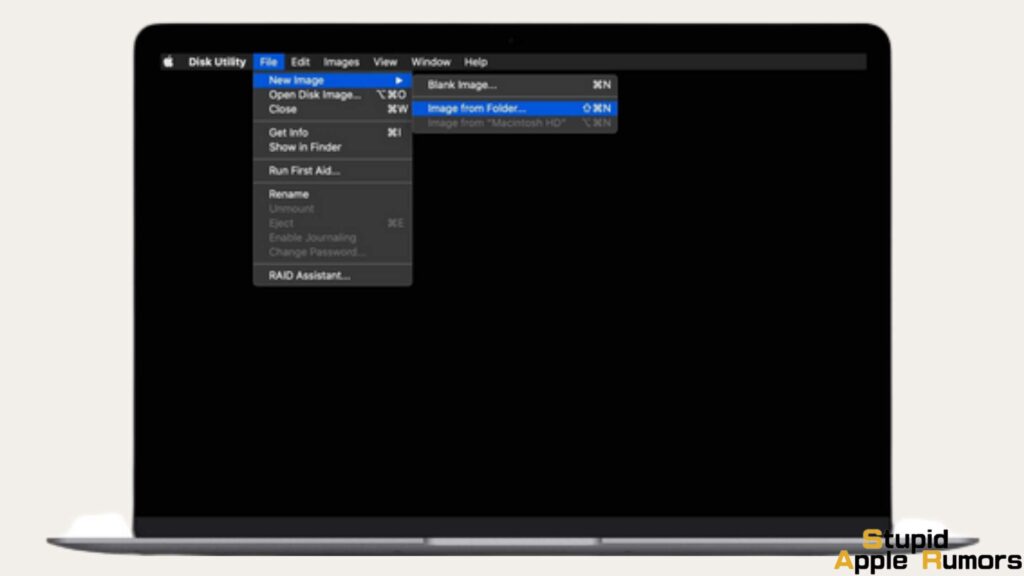
- Launch Disk Utility from Spotlight.
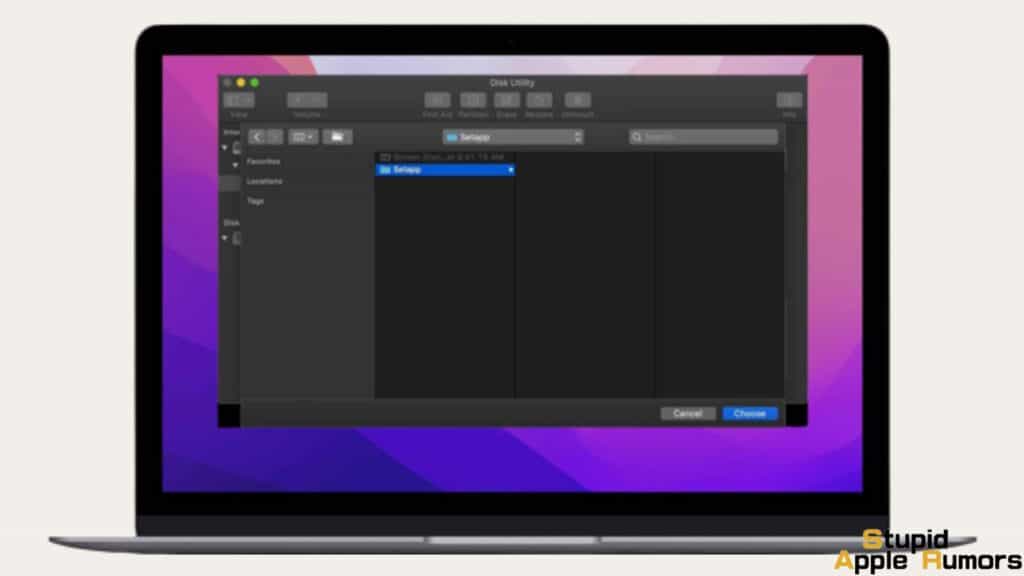
- Once it's open, go to the menu bar and select "File -> New Image -> New Image from Folder... "
- Choose the password-protected folder and either encryption option from the drop-down menu.
- (128-bit or 256-bit)
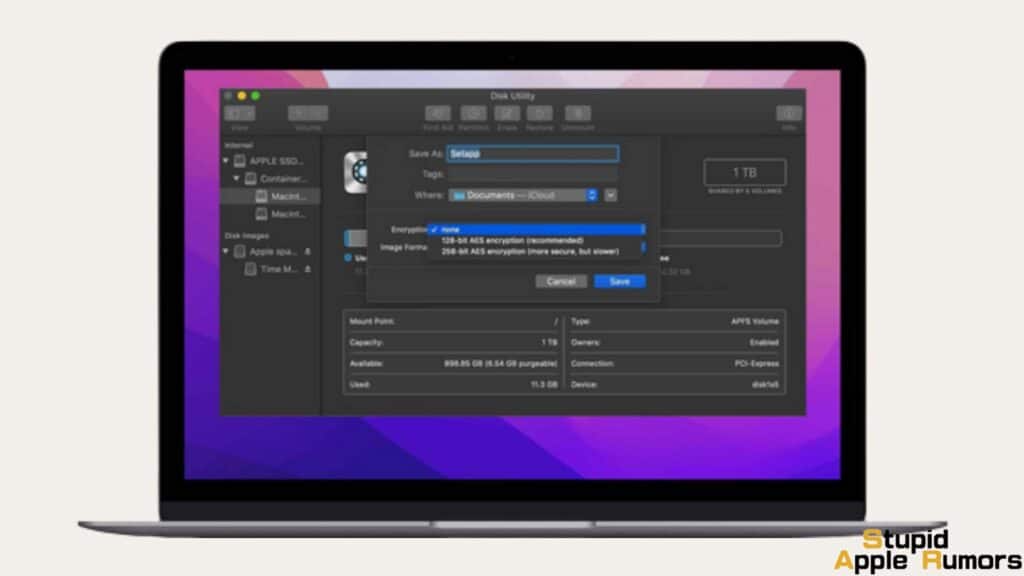
- The 256-bit option is more secure, but it takes longer to encrypt and decrypt your data; however, both formats safeguard your data sufficiently, so 128-bit AES is sufficient here.
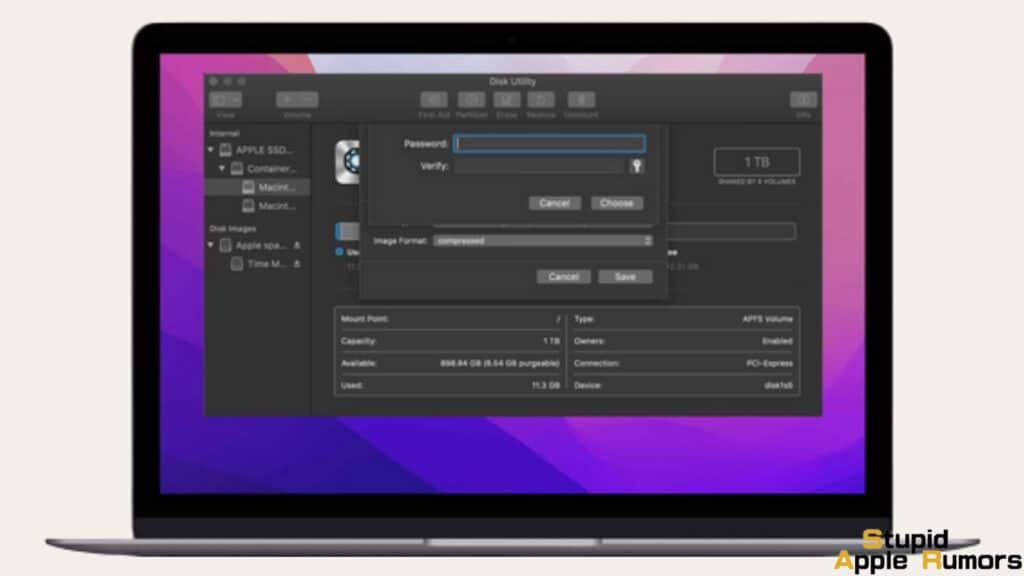
- When prompted, enter a password. This is the password you'll need to input in order to unlock the disc image. It should be strong and different from your Mac password.
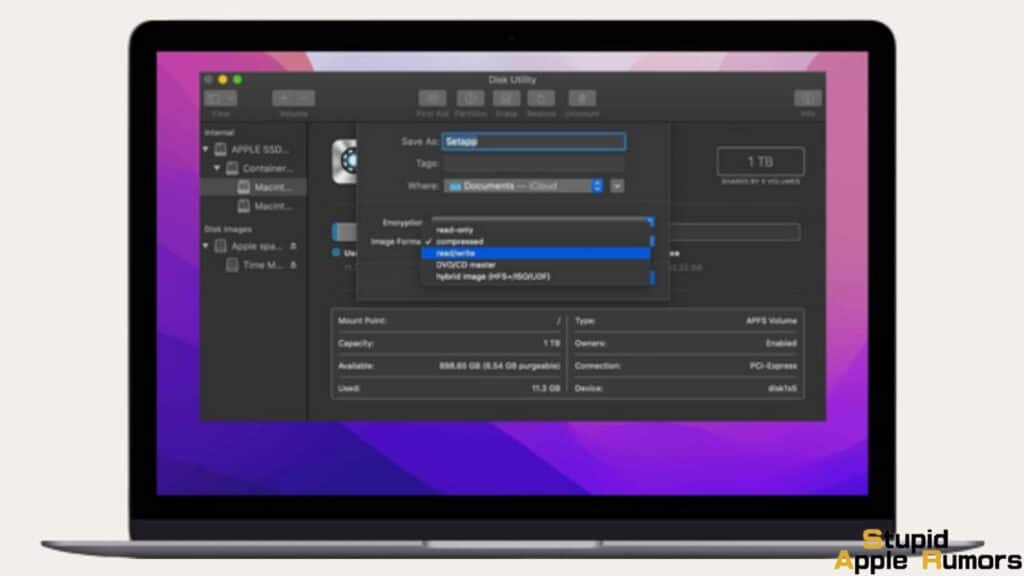
- Select "read/write" from the "Picture Format" menu to allow you to add files to the image; otherwise, you won't be able to add or remove them.
- To build the encrypted disc image, click "Save." When Disk Utility has finished building the disc image from your folder, it will display a success message.
- Unless you choose a different save location in the preceding stages, the disc image will display next to the folder you choose.
This DMG file is not the same as your folder; it is a disc image containing a copy of the folder's contents. The password is required to mount and decrypt the DMG. The original folder exists on its own.
With an encrypted disk image, you can rest assured that your files and folders are protected by a strong password and are only accessible by those who know the password. Plus, you can easily back up the encrypted disk image to an external drive or cloud storage service for added security.
How to Open a Password Protected Folder on Mac
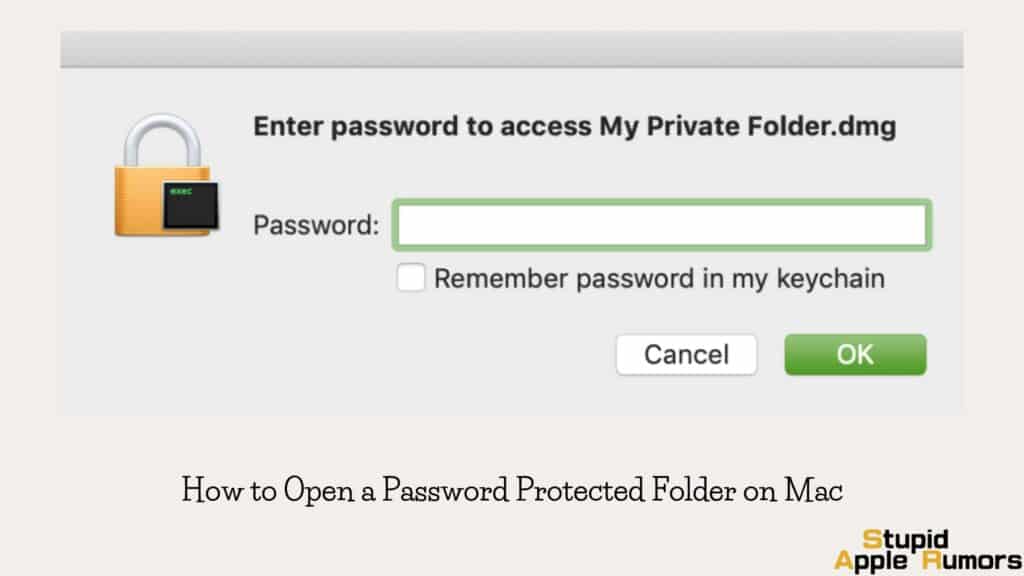
Of course, after a folder has been password locked, you must know how to access and use it.
- To open the disc image folder, double-click it (it will have the suffix .dmg).
- Enter the password you used to create the disc image.
- Don't check “Remember password” in my keychain because doing so will render having a password useless (unless you want to share the folder with someone else).
- Once the disc image has been mounted, double-click it. You may then drag and drop files into and out of it.
- Close the mounted disc image after you're finished. Eject the disc image by right-clicking it.
When you're certain that everything is working properly, delete the unencrypted folder.
Notes:
- This disc image will have about the same capacity as the original folder. You are free to delete old content and replace it with new content.
- This.dmg file should not be deleted. Everything will be gone if you do.
- To permanently delete the locked folder (and its contents), launch Disk Utility, select the disc image from the left sidebar, right-click it, and select 'Delete APFS Volume.'
Password Protect Files and Folders Using Encrypto
Encrypto is a free, cross-platform application that you can use to encrypt and password-protect your files and folders on Mac. Developed by the well-known software company, MacPaw,
The user interface is intuitive and straightforward, making it simple to select the files or folders you want to encrypt, and adding a password is a breeze. Additionally, Encrypto allows you to add a hint to your password, which can be helpful in case you forget the password later.
Another benefit of using Encrypto is that it supports a variety of file formats, including documents, images, videos, and more. This means that you can encrypt and protect any type of file or folder, regardless of its format or size.
You can also choose from a variety of encryption algorithms, such as AES-256, which is considered one of the most secure encryption methods available.
And only authorized users have access to your files. This is particularly important if you need to share your files or folders with others, such as sending confidential information via email or cloud storage services.
Here's how you can setup and configure Encrypto on your Mac:
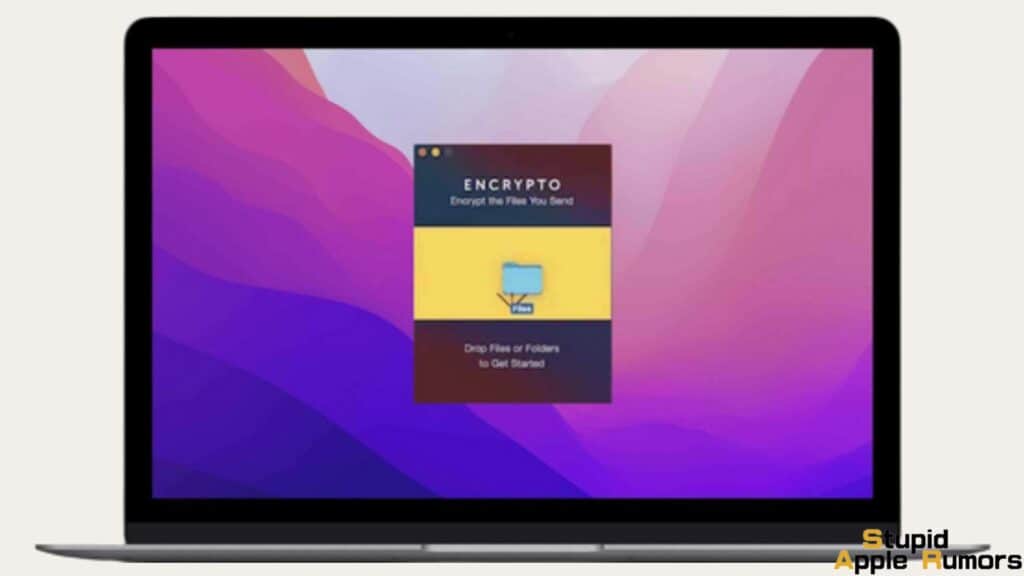
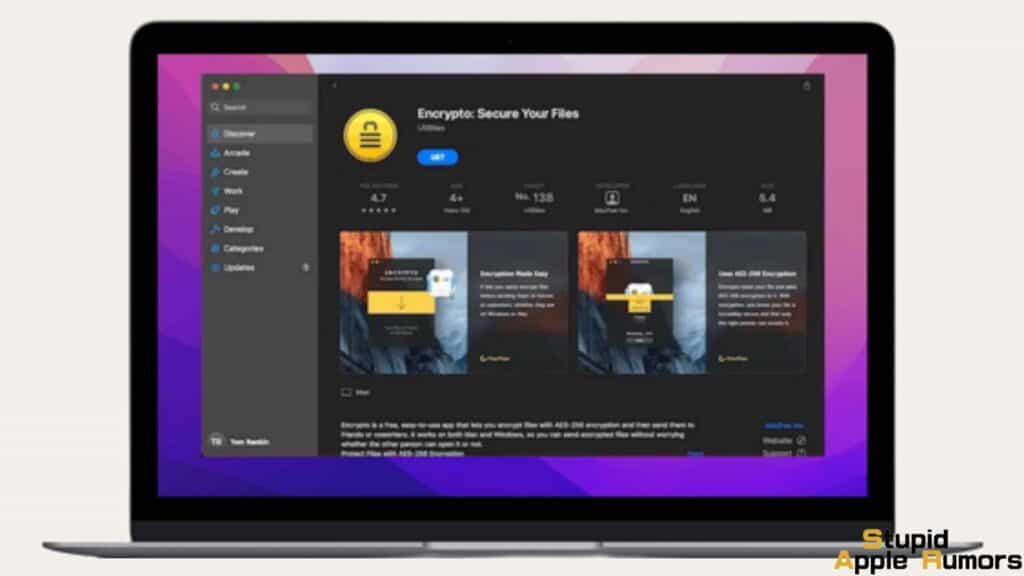
- To begin, download and install Encrypto from the Mac App Store.
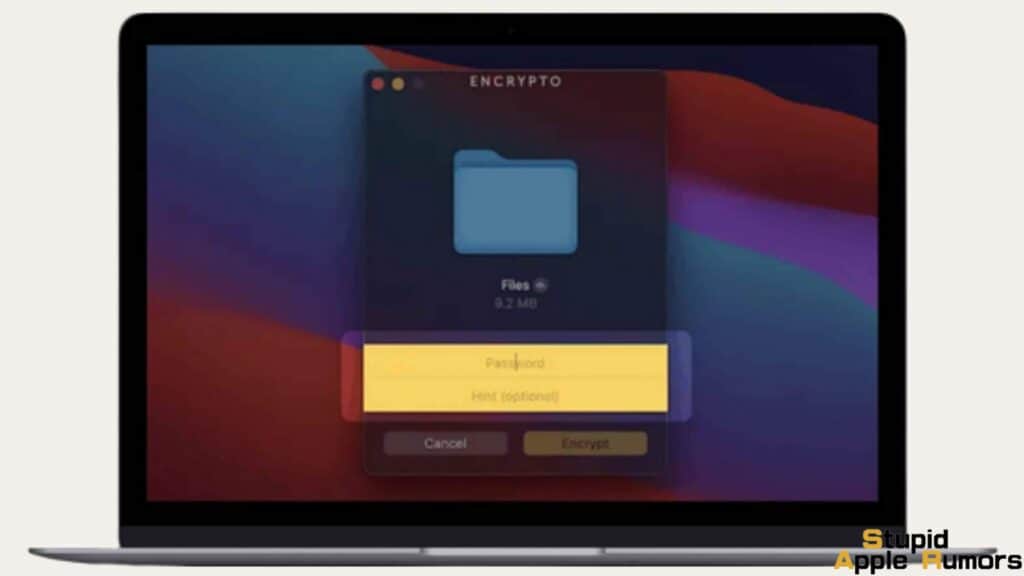
- When you're finished, launch Encrypto from Spotlight or the Applications folder.
- Drag the folder you want to encrypt onto the Encrypto app window to begin.
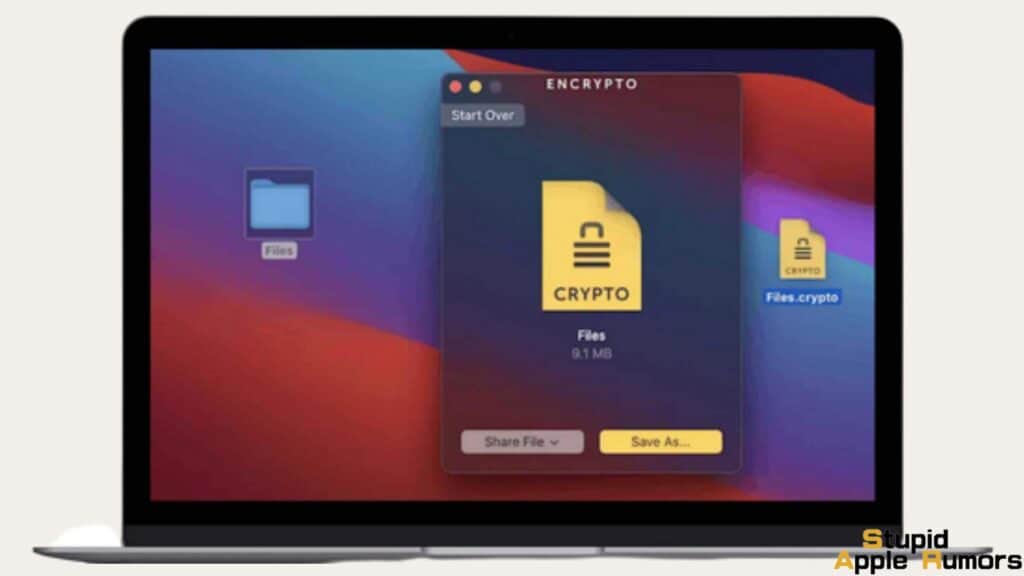
- Enter the password you'd want to use to secure the folder. If you're worried about forgetting your password credentials, you can provide an optional clue.
- When you're finished, click "Encrypt" to start creating your archive.
- When the encryption is finished, move the archive to a safe location. You may also use the "Share File" and "Save As..." options to transport the Encrypto archive to another location.
- Double-click the archive to open it, then enter your password and click "Decrypt" to unlock the folder.
Password Protect Files and Folders Using F-Vault
You can easily password secure a PDF or document on Mac, and you can also encrypt your starting disc with FileVault. However, there is no option to add a password to the folder. Fortunately, third-party folder encryption applications such as F-Vault are available. F-Vault is an excellent application for password-protecting folders and files on your Mac.
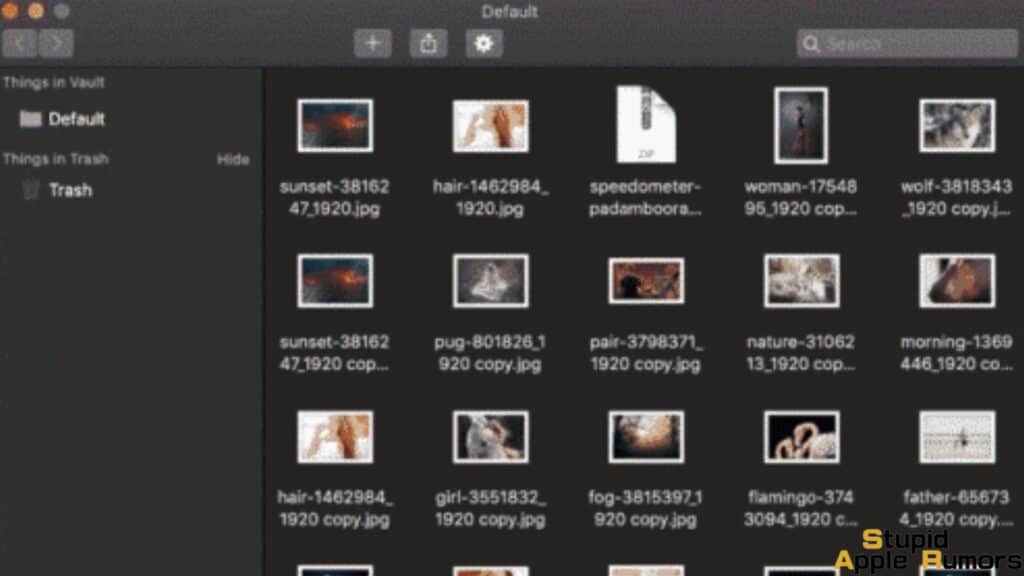
- To start with, download F-Vault through the Mac App Store.
- Set a password the first time you open it. If you need to recover your password, enter your email address.
- You'll notice a vault folder called Default. You can also make your own vault folders.
- Drag the Mac folder to be protected into the Vault or a vault folder.
- When prompted to delete the original files, select Delete. You can also do it manually later.
The folder and its contents are in an encrypted vault that no one can access without the correct password. Furthermore, whether you search for the folder (or a file within it) in Spotlight or Finder, it does not display in the search results.
Launch F-Vault, enter the password, and then click OK to gain access to the folder and its contents. It's really that simple. Quit F-Vault to make them unreachable again.
If you no longer want to keep a folder private, you can remove password protection by dragging it from the vault to a preferred location, such as the Desktop.
Use Terminal and compression to Password Protect Files and Folders
The solution described above involves putting the folder you want to secure in an encrypted vault. If you need to encrypt a folder but don't want to use Disk Utility, you can use Terminal, macOS's free terminal emulator. You can use Terminal to convert a folder into a password-protected ZIP archive file.
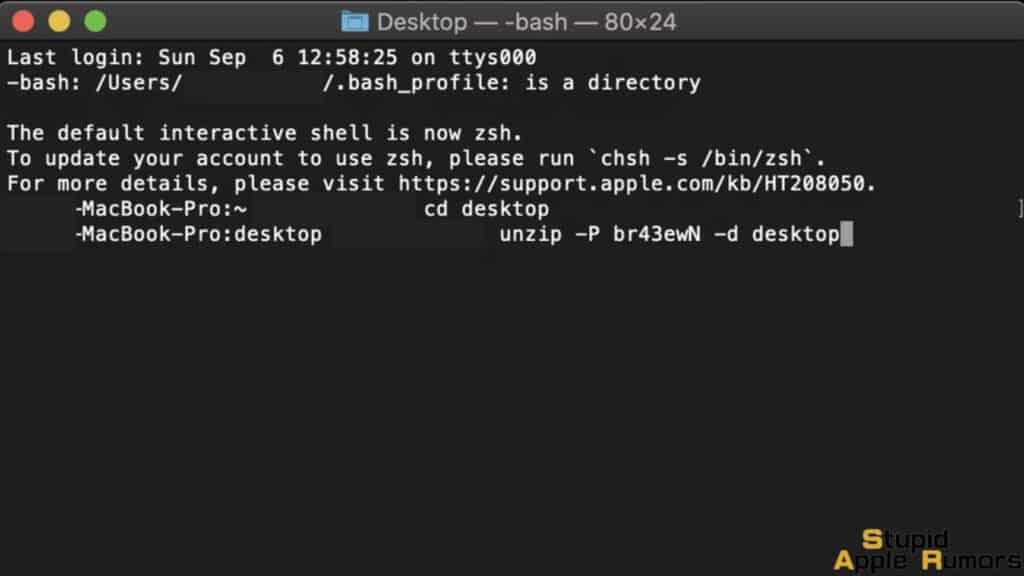
Simply use this way to password protect a folder to send in an email.
- Start up Terminal on your Mac. Use Spotlight or navigate to Finder > Applications > Utilities.
- Assume you need to password secure the Documents folder "Sample Folder" In Finder, control-click "Sample Folder" and select Get Info.
- Back to the Terminal. Paste the path after typing cd and a space. “Return” should be pressed.
- Enter ls and press Return.
- Use the command zip -er SampleFolderProtected “Sample Folder”.
- "Sample Folder" is compressed. The ZIP file is named "SampleFolderProtected" in this case. “Return“ should be pressed.
- It will now prompt you to enter a password. Enter a password and press the “Return” key.
- Go to your Mac's Documents folder and look for a ZIP archive file called SampleFolderProtected.zip.
- When you double-click the archive, the Archive Utility dialogue box appears, prompting you to enter the password.
Use Terminal and OpenSSL to Password Protect Files and Folders
This is a way that can be performed on a Mac without the use of third-party software. It uses a built-in Mac feature to safeguard your files and directories. If you want to place new files on a specific encrypted folder on Mac, you must use this tool. Check out the instructions below to learn how to do it:
- The first step should be to launch Terminal.
- Enter the following command. "openssl aes-256-cbc -in /Desktop/SamplePhoto.jpg -out /Desktop/Encrypted.file" without the quotes and the end period. Make sure the portion labelled /Desktop/SamplePhoto.jpg is changed with the file you want to encrypt, including its location. The part named jpg -out /Desktop/Encrypted.file, on the other hand, will tell you where the real encrypted file will be saved.
- Enter the command and the password. After that, enter the command and, when requested, input the password for encryption. To proceed to the next step, you must confirm the actual password.
- Make use of the Encrypted File. You will now be able to see its Encrypted.file on your Desktop. It is dependent on your personal requirements and preferences. You can, however, configure the directory and its encryption techniques.
Now you know how to password lock a folder on your Mac without using Disk Utility. In this case, we used the Terminal and its built-in OpenSSL tool.
What are the Advantages and Drawbacks of Password Protecting Files and Folders on Your Mac
Password protecting files and folders on your Mac can provide several benefits. Some of which are:
- Protecting sensitive information: Password protecting your files and folders can help protect your sensitive and confidential information from unauthorized access. This is particularly important if you store financial information, personal data, or work-related documents on your Mac.
- Securing your data from theft: Password protecting your files and folders can help prevent data theft. If someone steals your Mac or accesses it without permission, they will be unable to access your password-protected files and folders.
- Preventing accidental deletion: Password protecting your files and folders can prevent accidental deletion or modification. This is particularly important if you work with important or irreplaceable documents.
- Maintaining confidentiality: Password protecting your files and folders can help maintain confidentiality. If you work in a shared environment, password protection can prevent others from accessing your files and folders and maintaining your privacy.
- Enhancing security: Password protecting your files and folders can enhance the overall security of your Mac. This is particularly important if you connect to public networks, which can be a potential source of security threats.
However, there are also some drawbacks to password protecting files and folders on your Mac:
- Inconvenience: Password protecting files and folders can be inconvenient, particularly if you need to access them frequently. You will need to enter your password each time you want to access a password-protected file or folder.
- Password loss: If you forget your password, you will be unable to access your password-protected files and folders. This can be particularly problematic if you have important or irreplaceable documents that you need to access urgently.
- Limited protection: Password protecting files and folders can provide some protection, but it may not be enough to prevent skilled hackers from gaining access to your data. If you require additional security, you may need to consider more advanced security measures.
- Compatibility issues: Password protection may not be compatible with all applications or programs. Some applications may not support password protection, which can limit your ability to protect your data.
It's important to weigh the pros and cons carefully and consider your specific needs and requirements before deciding whether or not to password protect your files and folders.
How to Password Protect Files and Folders in macOS - Conclusion
The Disk Utility approach for password protecting a folder on a Mac works, although it's a little clumsy. The Encrypto software is simpler to use, but it generates a proprietary archive format that may be insecure in the future.
As a result, you should select your solution based on your requirements and security concerns. Hide files and directories instead of low-level protection is sufficient.
We hope this guide offered all the answers you needed for How to Password Protect Files and Folders in macOS. Let us know which method you prefer the most in the comments below.
Also Read:


Leave a comment
This site is protected by reCAPTCHA and the Google Privacy Policy and Terms of Service apply.